Installing Fonts in Procreate for iPad
Type management on the iPad is weird. So here are some quick ways to install (and remove) custom fonts for use in Procreate on your iPad.

Skip to the end for the time lapse.
First of All: Get your Font Files on the iPad
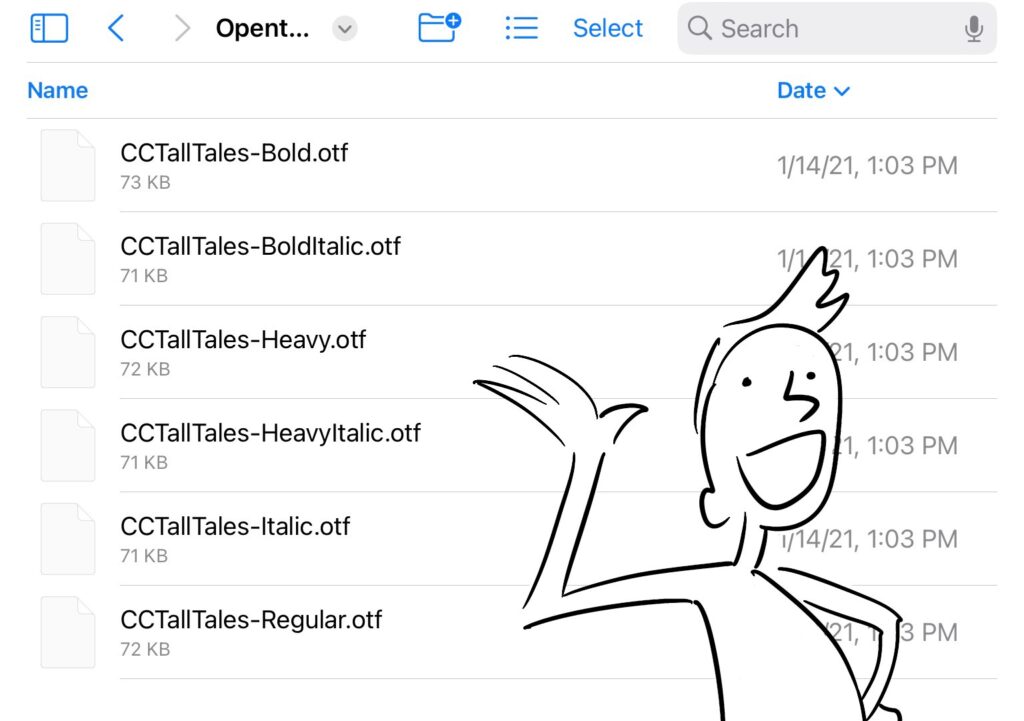
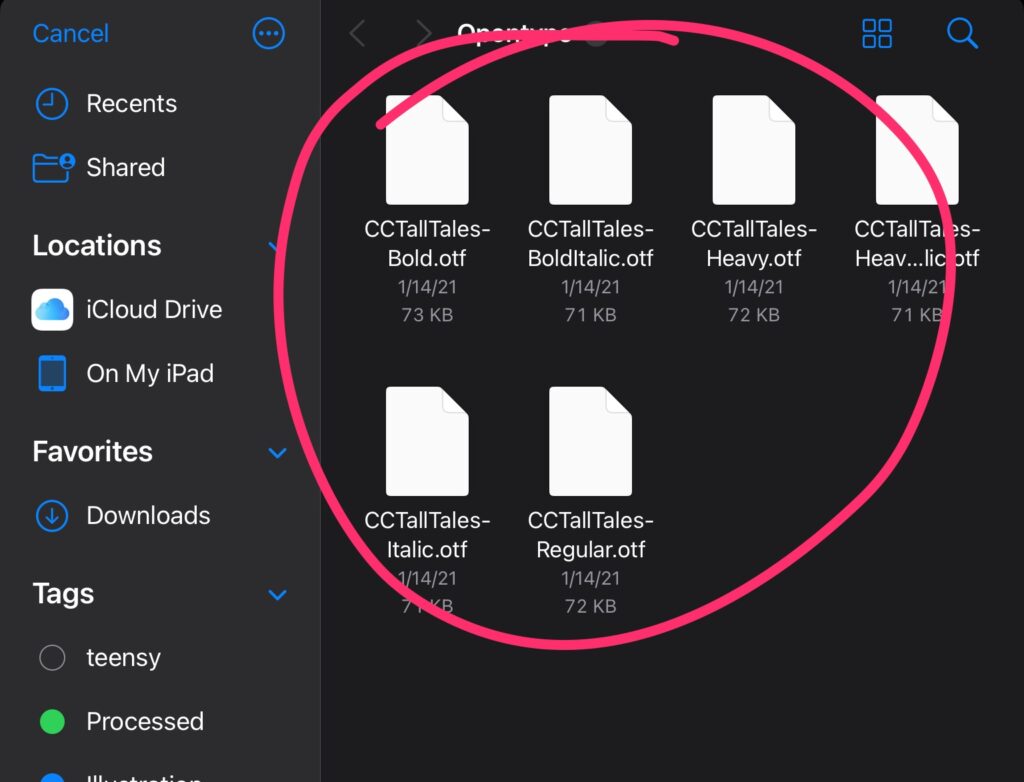
First, make sure you have copied over to your iPad the font files you want to install. I’ve only tried installing OpenType and TrueType fonts. They have a “.otf” or “.ttf” extension.
There are multiple ways to do this: you could download a zip file from a font foundry like comicbookfont.com while on your iPad or you could AirDrop it from your desktop. Either way, make sure you can tell where in the Files app your .otf or .ttf files are. Mine ended up in the Downloads folder.
Installing via Procreates Import function.
In this method you will import the font while using procreate. You’ll need to get to the text-editing panel’s Import button from a text layer.
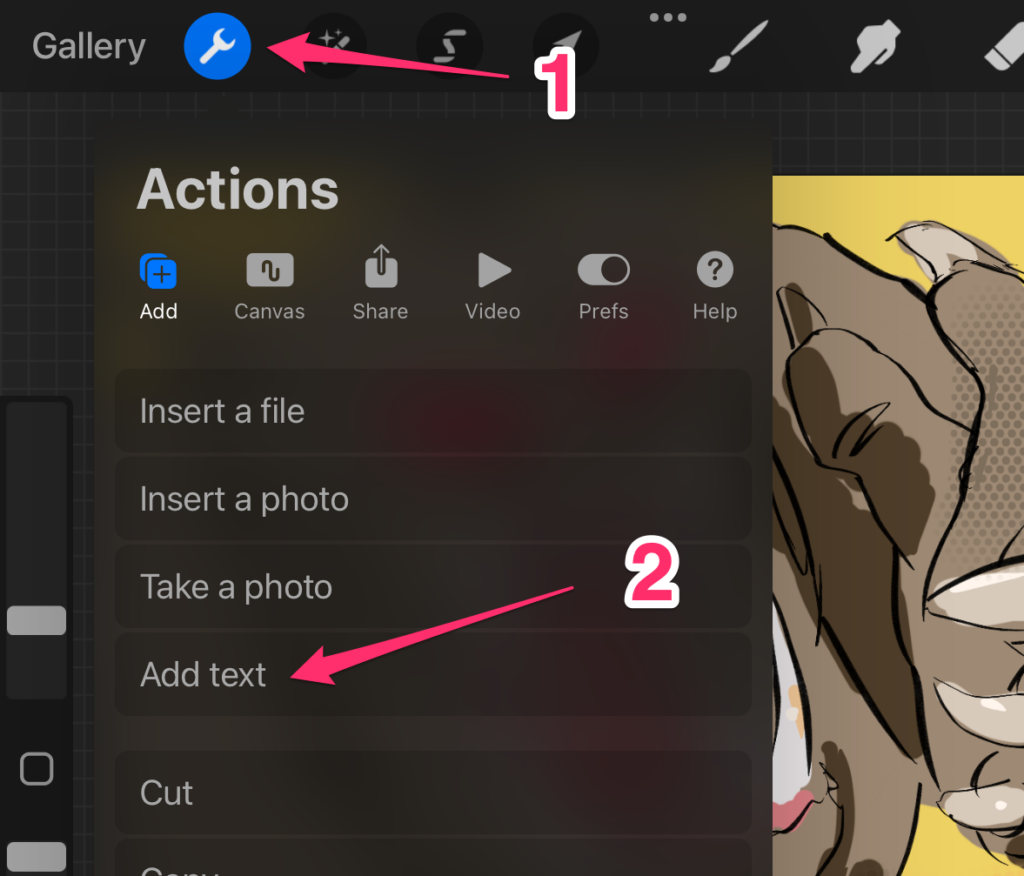
If you don’t have a text layer, create one by tapping on the Wrench Icon and selecting Add text.
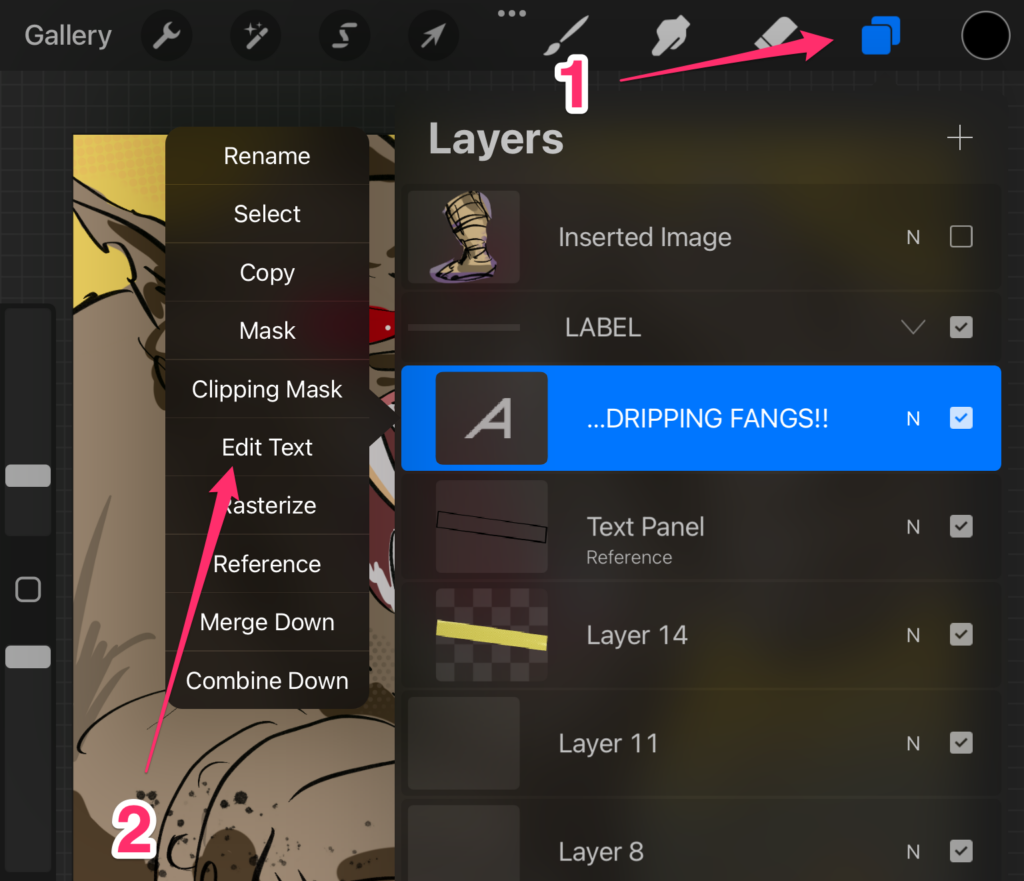
If you’ve previously created a text layer, begin editing it to bring up the text edit panel by opening the layer menu, tapping on your previously added text layer, and selecting Edit Text.
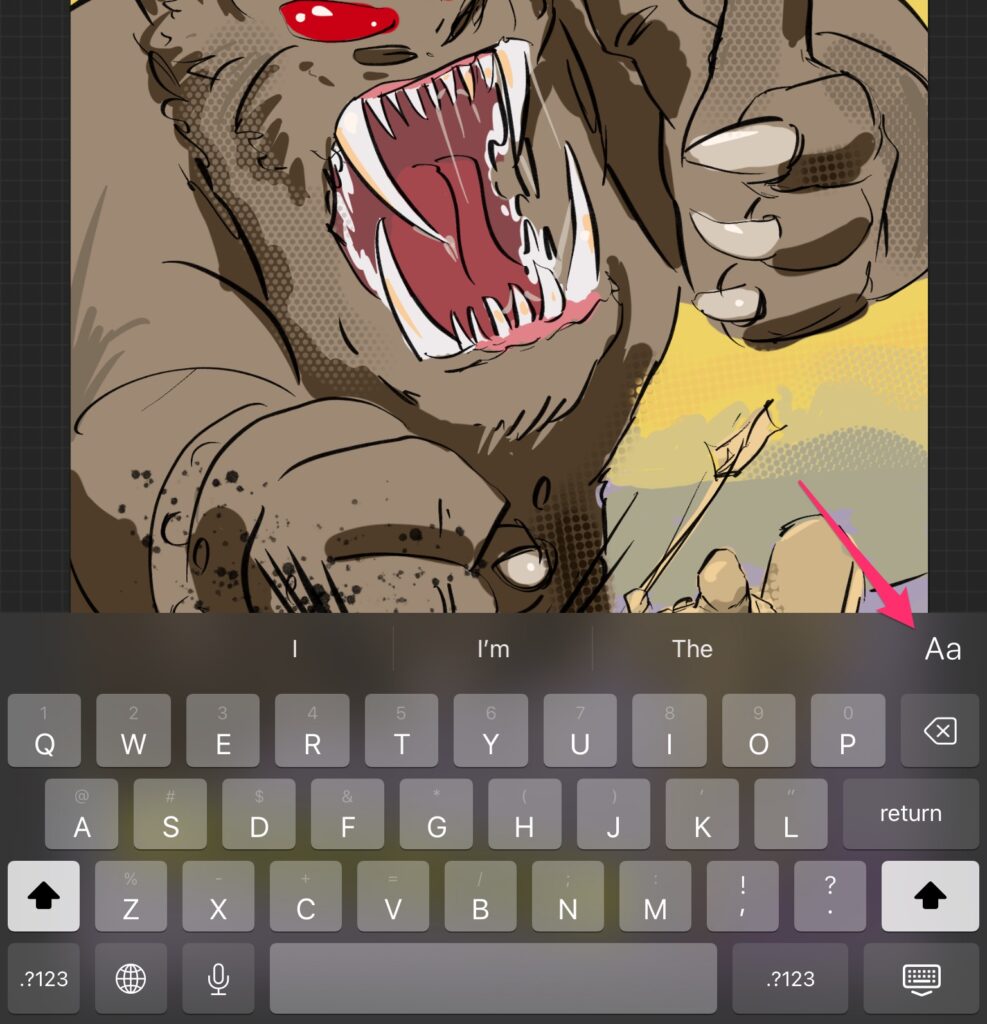
If all you get is a keyboard, tap on the “Aa” icon on the top right of the keyboard; this’ll bring up the text editing panel.
See that “Import” text on the top right? That’s the import button. Tap it.

The file browser screen will show up. Navigate your way to where you put your font files in the “for starters” section.
Select the font file and tap Done.
Procreate will show an Import message and when it’s done, it’ll drop you back to the text edit panel. If this is the first font in this family that you’ve imported, you’ll have to go find it in the “Font” list on the left. Tap it and then you can see the “Style” on the right.
If you’ve previously installed a font for this family (let’s say you’ve already imported the “Regular” style), then, strangely, after the Import dialog goes away, you won’t see the new style in the right side. Just tap to another Font and then back to the one you imported and you’ll see the new style.
Importing from Outside Procreate
Another way to import into Procreate on your iPad is to use the Files app.
Open the Files app and make your way to the location where your copied or downloaded font files are. Tap on one and then tap the Share icon (that box with an up arrow on the top right, next to Done).
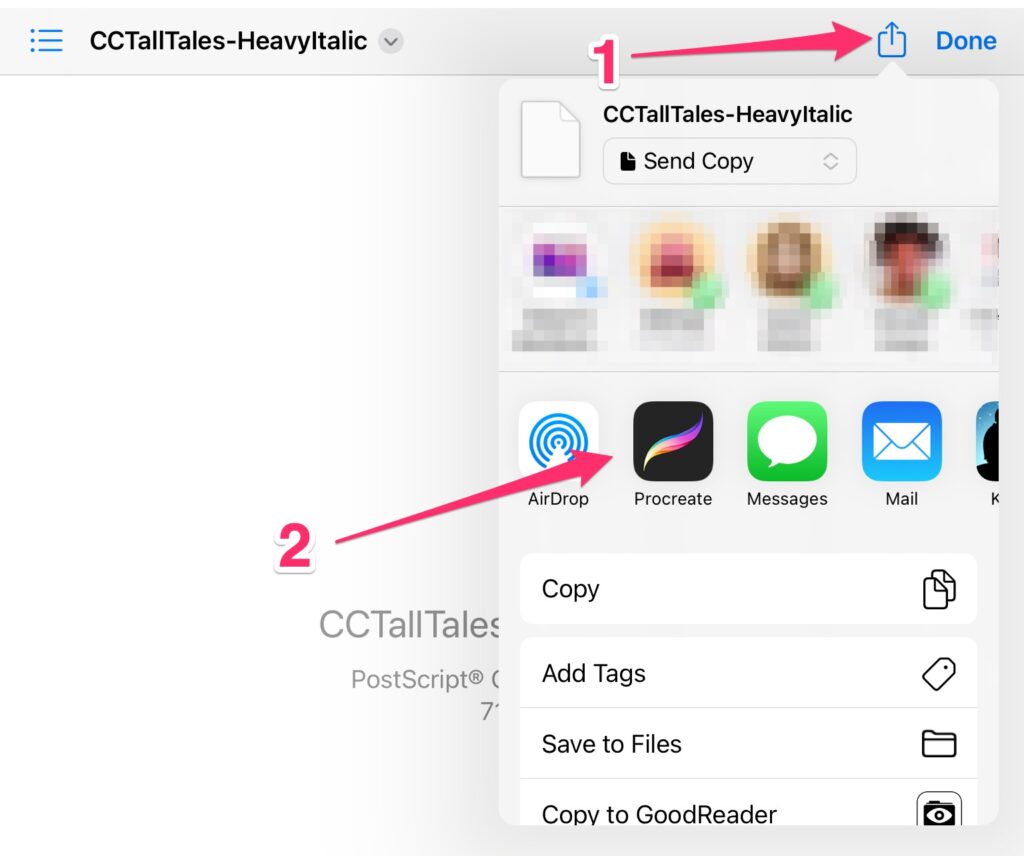
You should see the “Procreate” somewhere on that little popup. Tap it and then just wait for it to import. The import might be so quick you won’t even see it, but, if you ended up in the Procreate app, then it should have worked. Now go edit some text inside procreate and see if your newly imported font is available.
You can import a whole family of fonts instead of doing it one by one by selecting all the font files and then “Sharing” them into procreate.
Uninstalling Custom Procreate Fonts
Finally, if you want to remove any fonts you’ve installed in procreate, you can do so fairly easily.
Open up the Files app.
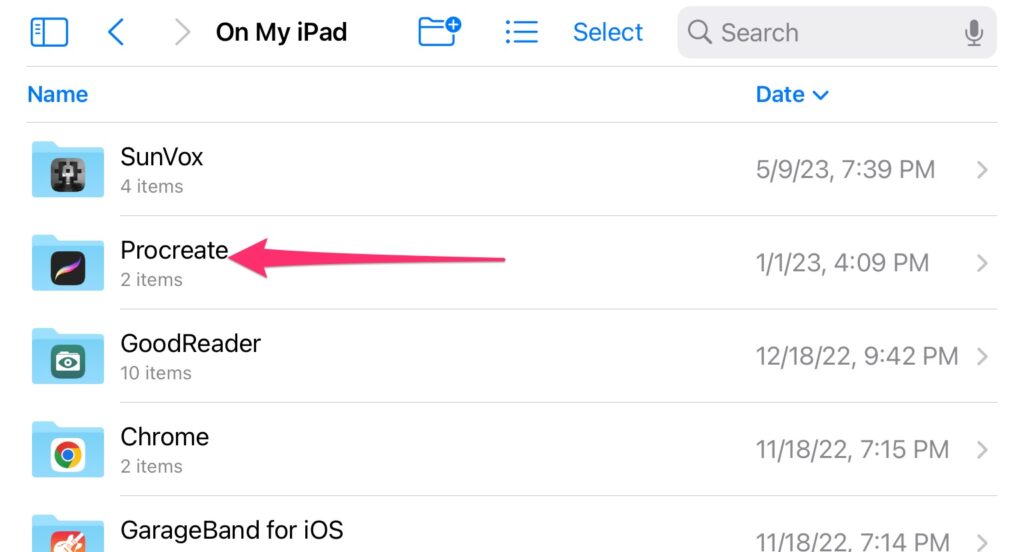
On the sidebar, under the Locations section, find the location titled “On My iPad”. Tap it.

You should see a folder titled Procreate with Procreate’s little icon on it. Tap it.
Inside you’ll find a couple of folders and maybe some files. Find the folder titled “Fonts”. You’ll see all the font files you’ve previously installed.
Select the ones you want to remove and delete them.
Once you’re back in procreate, if you open up the edit text dialog you should no longer see the files you just removed.
Weird huh?